Gearing up for Winter Photography
How to stay warm and dry in the dead of winter
Terry A. McDonald, luxBorealis.com
1922 words; 11 photographs; 10-minute read
Winter is the most satisfying of seasons for photography. A fresh blanket of snow changes everything! Places you’ve visited before appear new again. Low sun angles produce wonderful shadows that linger for hours; and the warm light contrasting with cold shadows crates wonderful colour contrasts—a landscape photographer’s dream.
For those who begrudge mornings, sunrise is later in winter, so you can sleep in a little. And, the great evening light starts in mid-afternoon so you can be finished a day of shooting in time for dinner.
But it’s cold. And it can be very cold. Days with bright sunshine and clear blue skies are the coldest. How do we fight that cold? The answer is as simple as two concepts: layers under windproof.
Sunrise, In February is around 7:20am, a nice change from July, when it’s at 5:45am. Of course, in February, it means crawling out of the tent, getting dressed and skiing out across Lake George. But it’s worth it!
Base Layer
Remember those waffle-cotton white long underwear you may have had as a kid? Forgot them. They were the best we had at the time, but base layers have moved on. Polyester and nylon are the most common for their ability to wick moister away from your skin. Personally, I prefer staying with natural fibres so, over the years, I’ve used both silk and merino wool, though not at the same time.
A silk base layer is simply luxurious. It’s sheer against your skin and anything you pull over it slips on easily. Given its incredibly light weight, silk is also warm. For years, I used silk sock liners, silk long johns and a silk long sleeve top and I was very comfortable. But after about 10 years of sporadic use, it began coming apart at the seams. Literally. It served me well.
As I aged, I began to slow down a bit. This meant a heavier base layer was needed to keep me warm. Enter merino wool. And, no, it is not scratchy! Merino wool is soft and durable and, perhaps more importantly, the best in odour-resistance.
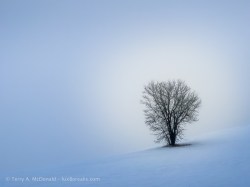
Panasonic FZ1000 • 73mm (200mm efov) • ƒ5.6 @ 1/1250 • ISO 125 • Lightroom
This was made at 9:30am, showing how lovely the mid-morning light is.
Mid-layer
This is where fleece comes into its own. I prefer natural fibres, but for its lighter weight, lower cost and washability, fleece is the way to go, especially for the pants. Wool can be heavy which is why a fleece pullover is ideal for on top.
However, the best top I’ve found for light weight and warmth is an Icelandic sweater made from real, Icelandic sheep’s wool called ‘lopi’. The sweaters are expensive, but they are luxuriously warm and have no weight to them.
I mentioned wearing a cotton turtle neck over the base layer and under the sweater. A good base layer wicks moisture from you skin keeping it dry. The jury is out on using a cotton layer as I do as cotton holds moisture. But I have yet to find anything better. A good sweater or fleece on top . . .

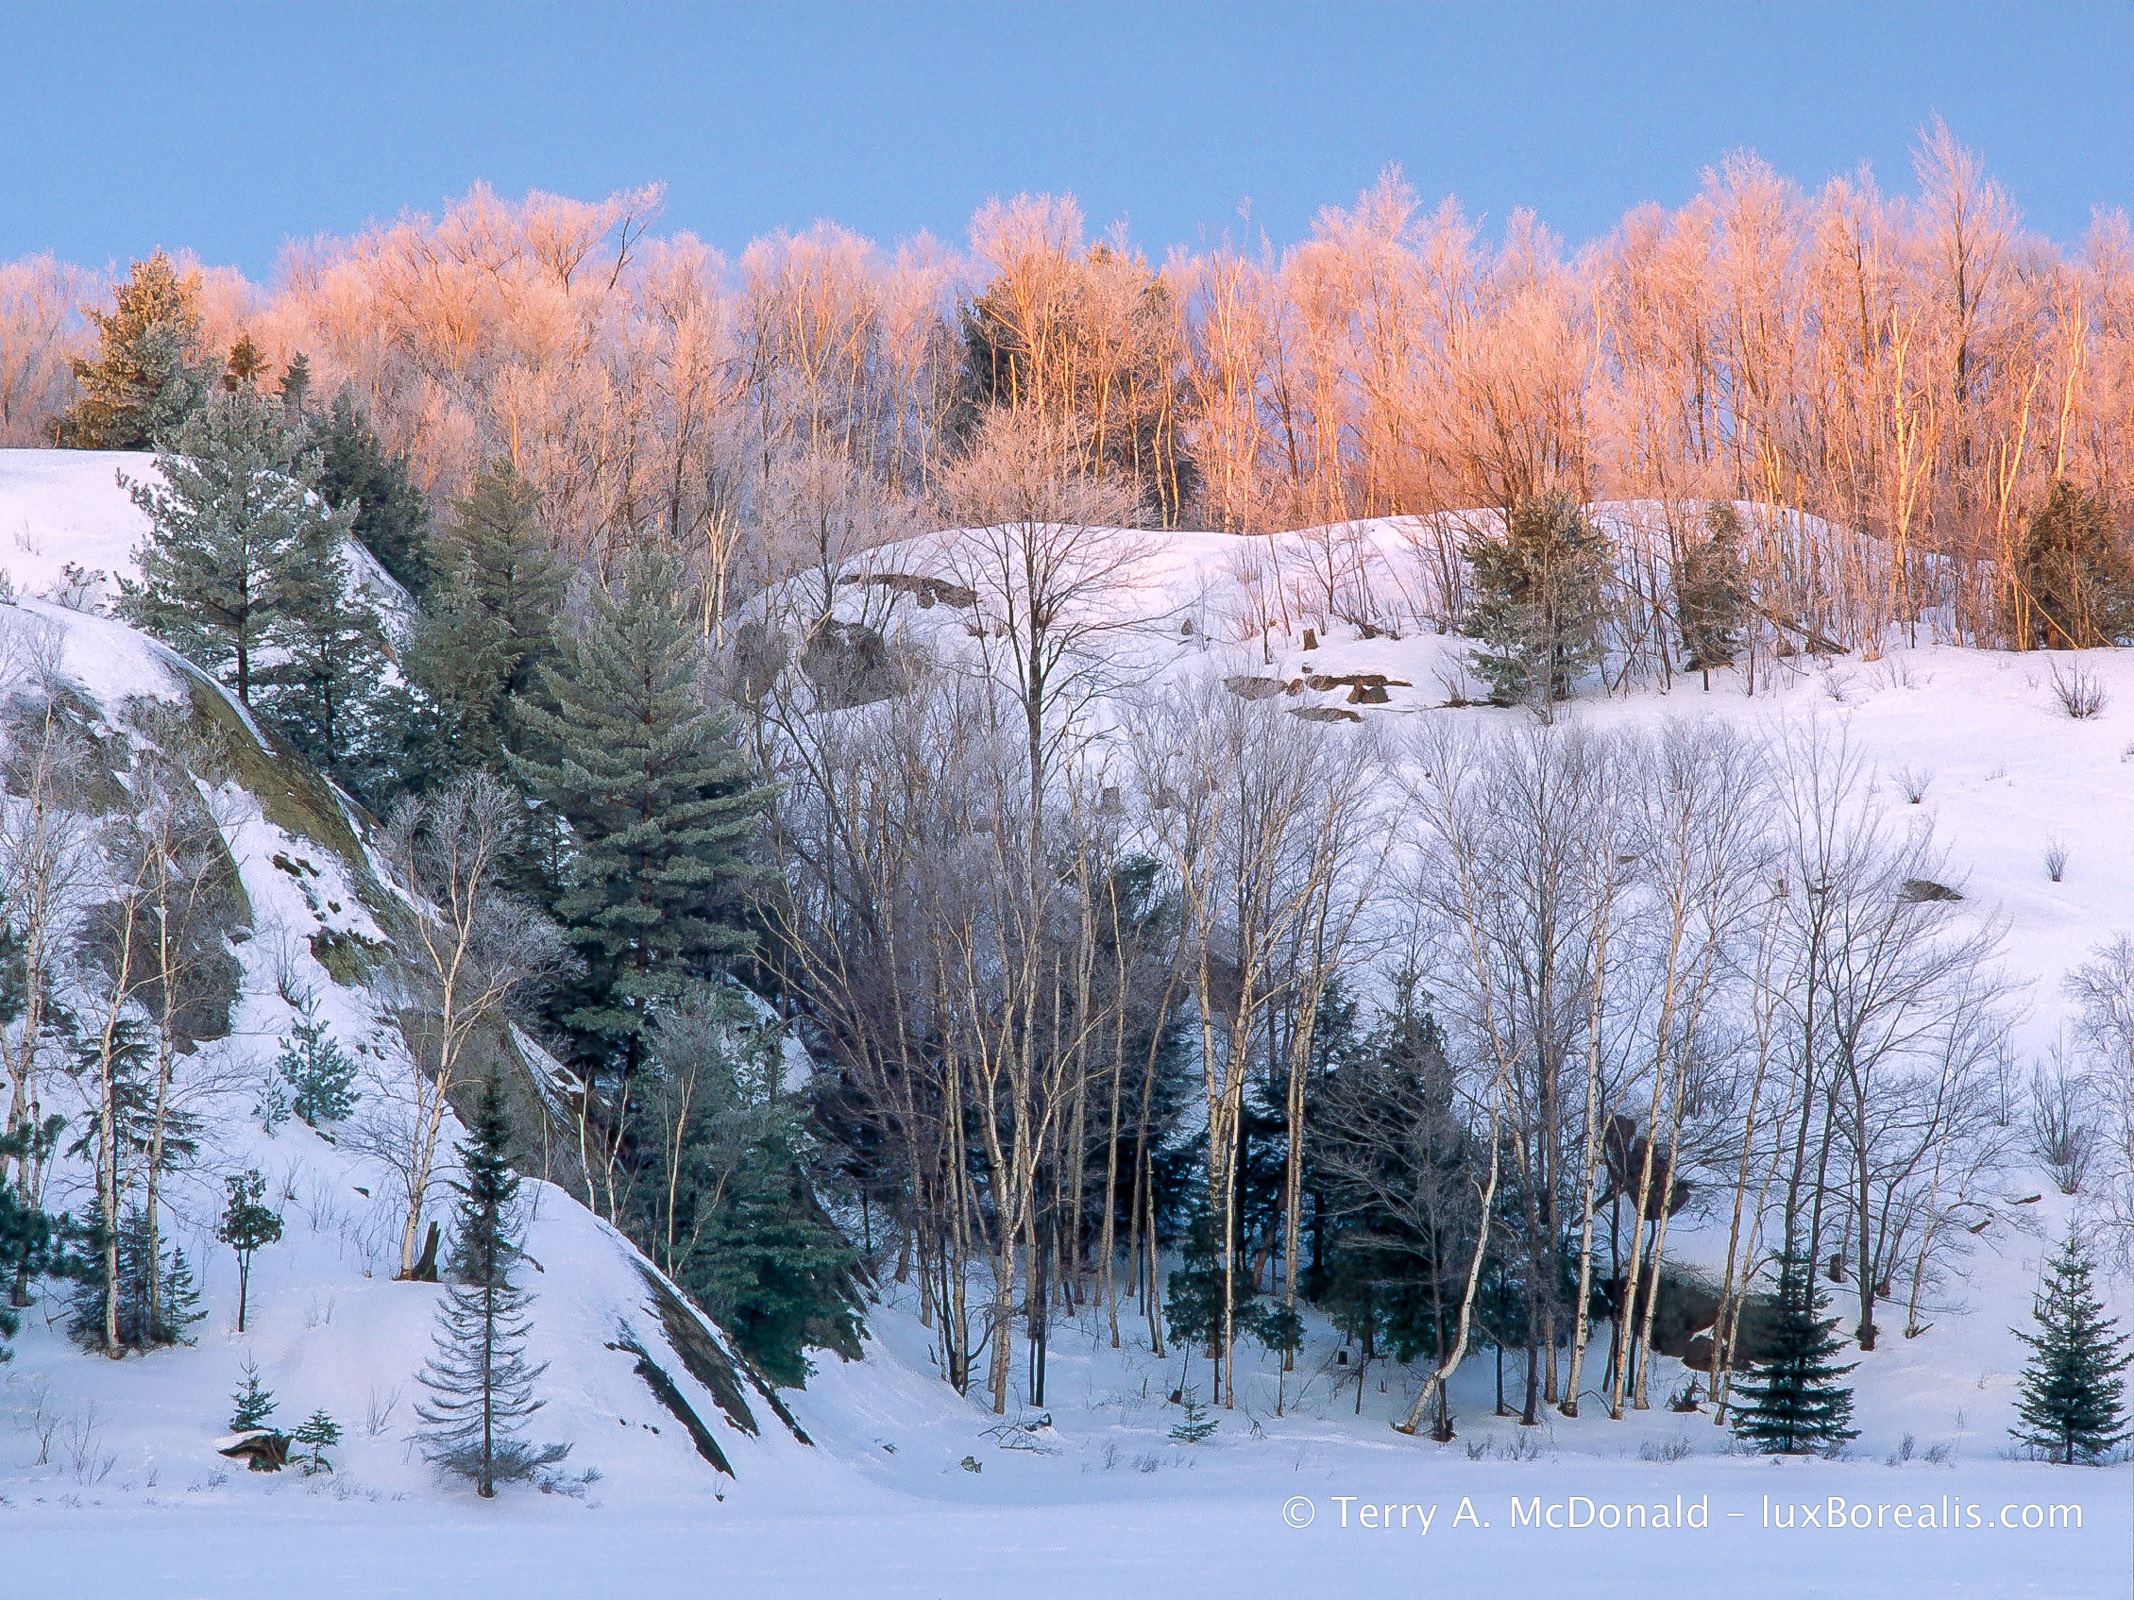
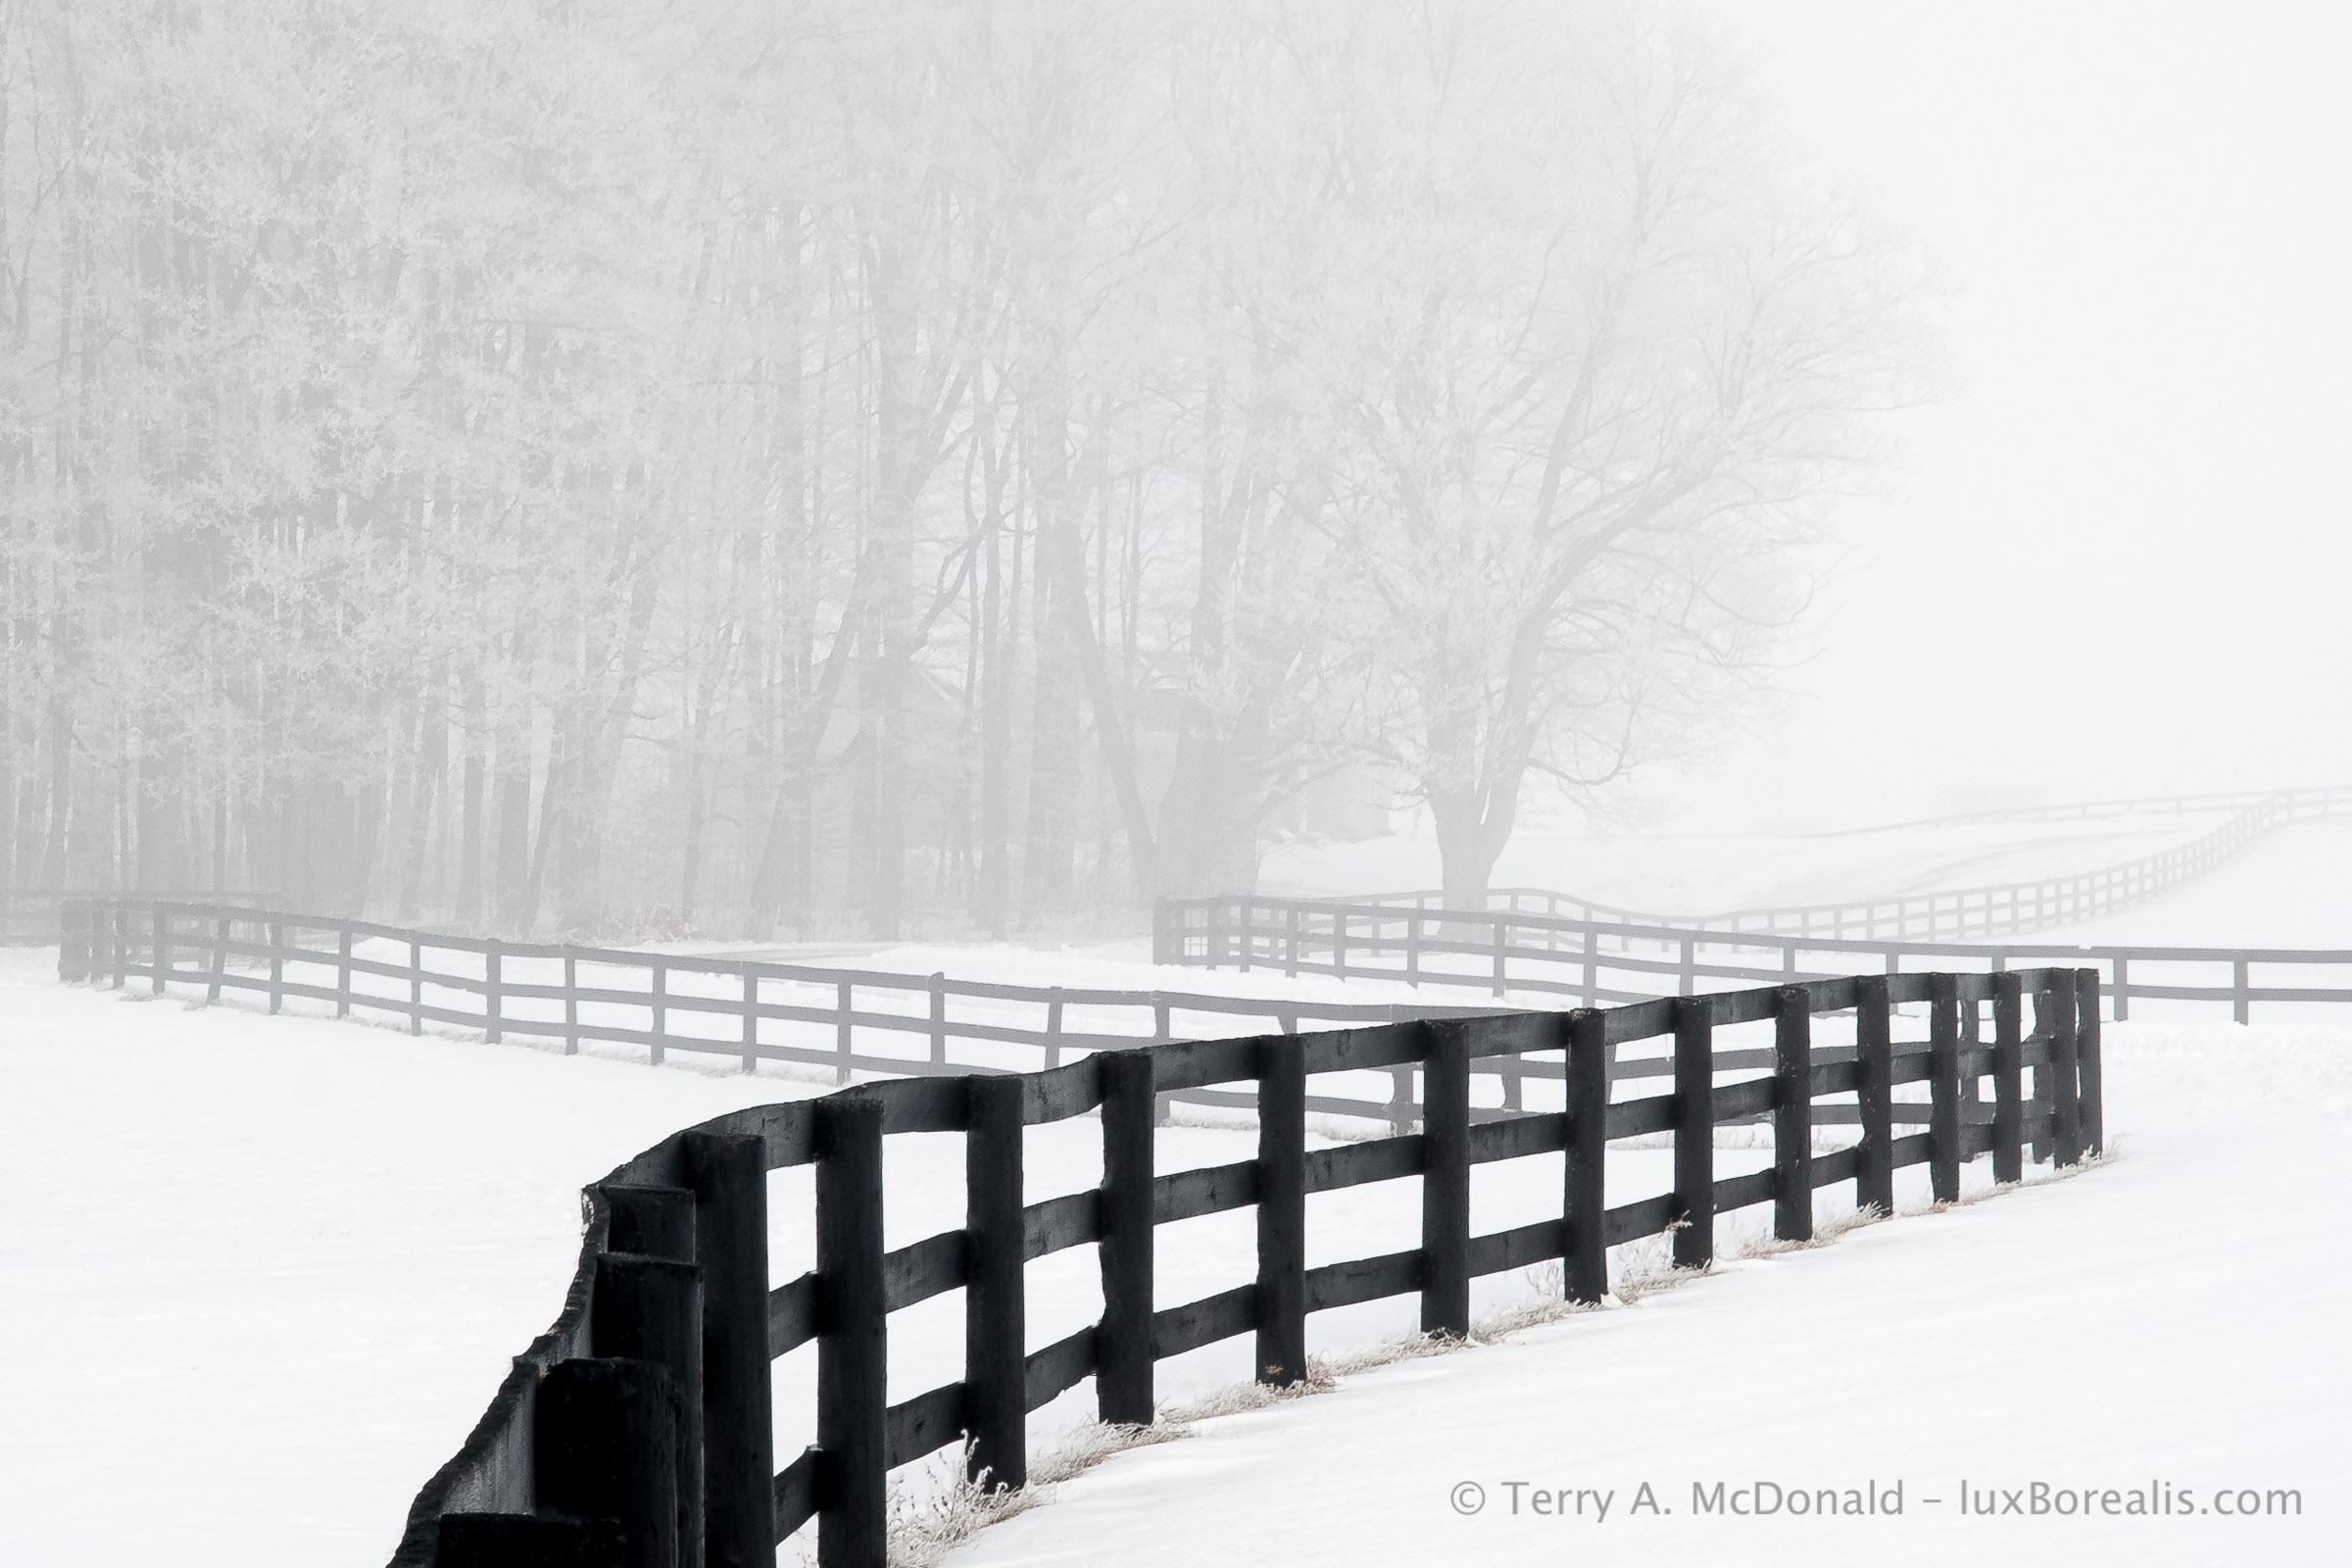
OM-1 • M.Zuiko 8-25mm at 10mm (20mm efov) • ƒ8 @ 1/500 • ISO 200 • 80 MP Tripod High Res • Lightroom
The warm tones are stretched out in the afternoon and contrast beautifully with blue shadows.
Outer Wear
Here is where the wind proof layer comes in. My outer coat is unlined, uninsulated. Why? To me, stopping the wind is the key to staying insulated against the cold. I also find that when I’m tromping through snow, snowshoeing or Nordic skiing, I’m building up enough warmth without adding more insulation. It’s only when I’m still, while waiting for the light or a cloud to pass, that the cold begins seeping in, but typically, I’m not standing around long enough for it to be a problem.
GoreTex is perhaps the best known name in windproof outer wear and it’s good. But there are many others out there that are equally good. I don’t wear it for its ability to release moisture, but simply as a wind block. The pants are easy enough to find, but the kind of coat I like is more of a challenge.
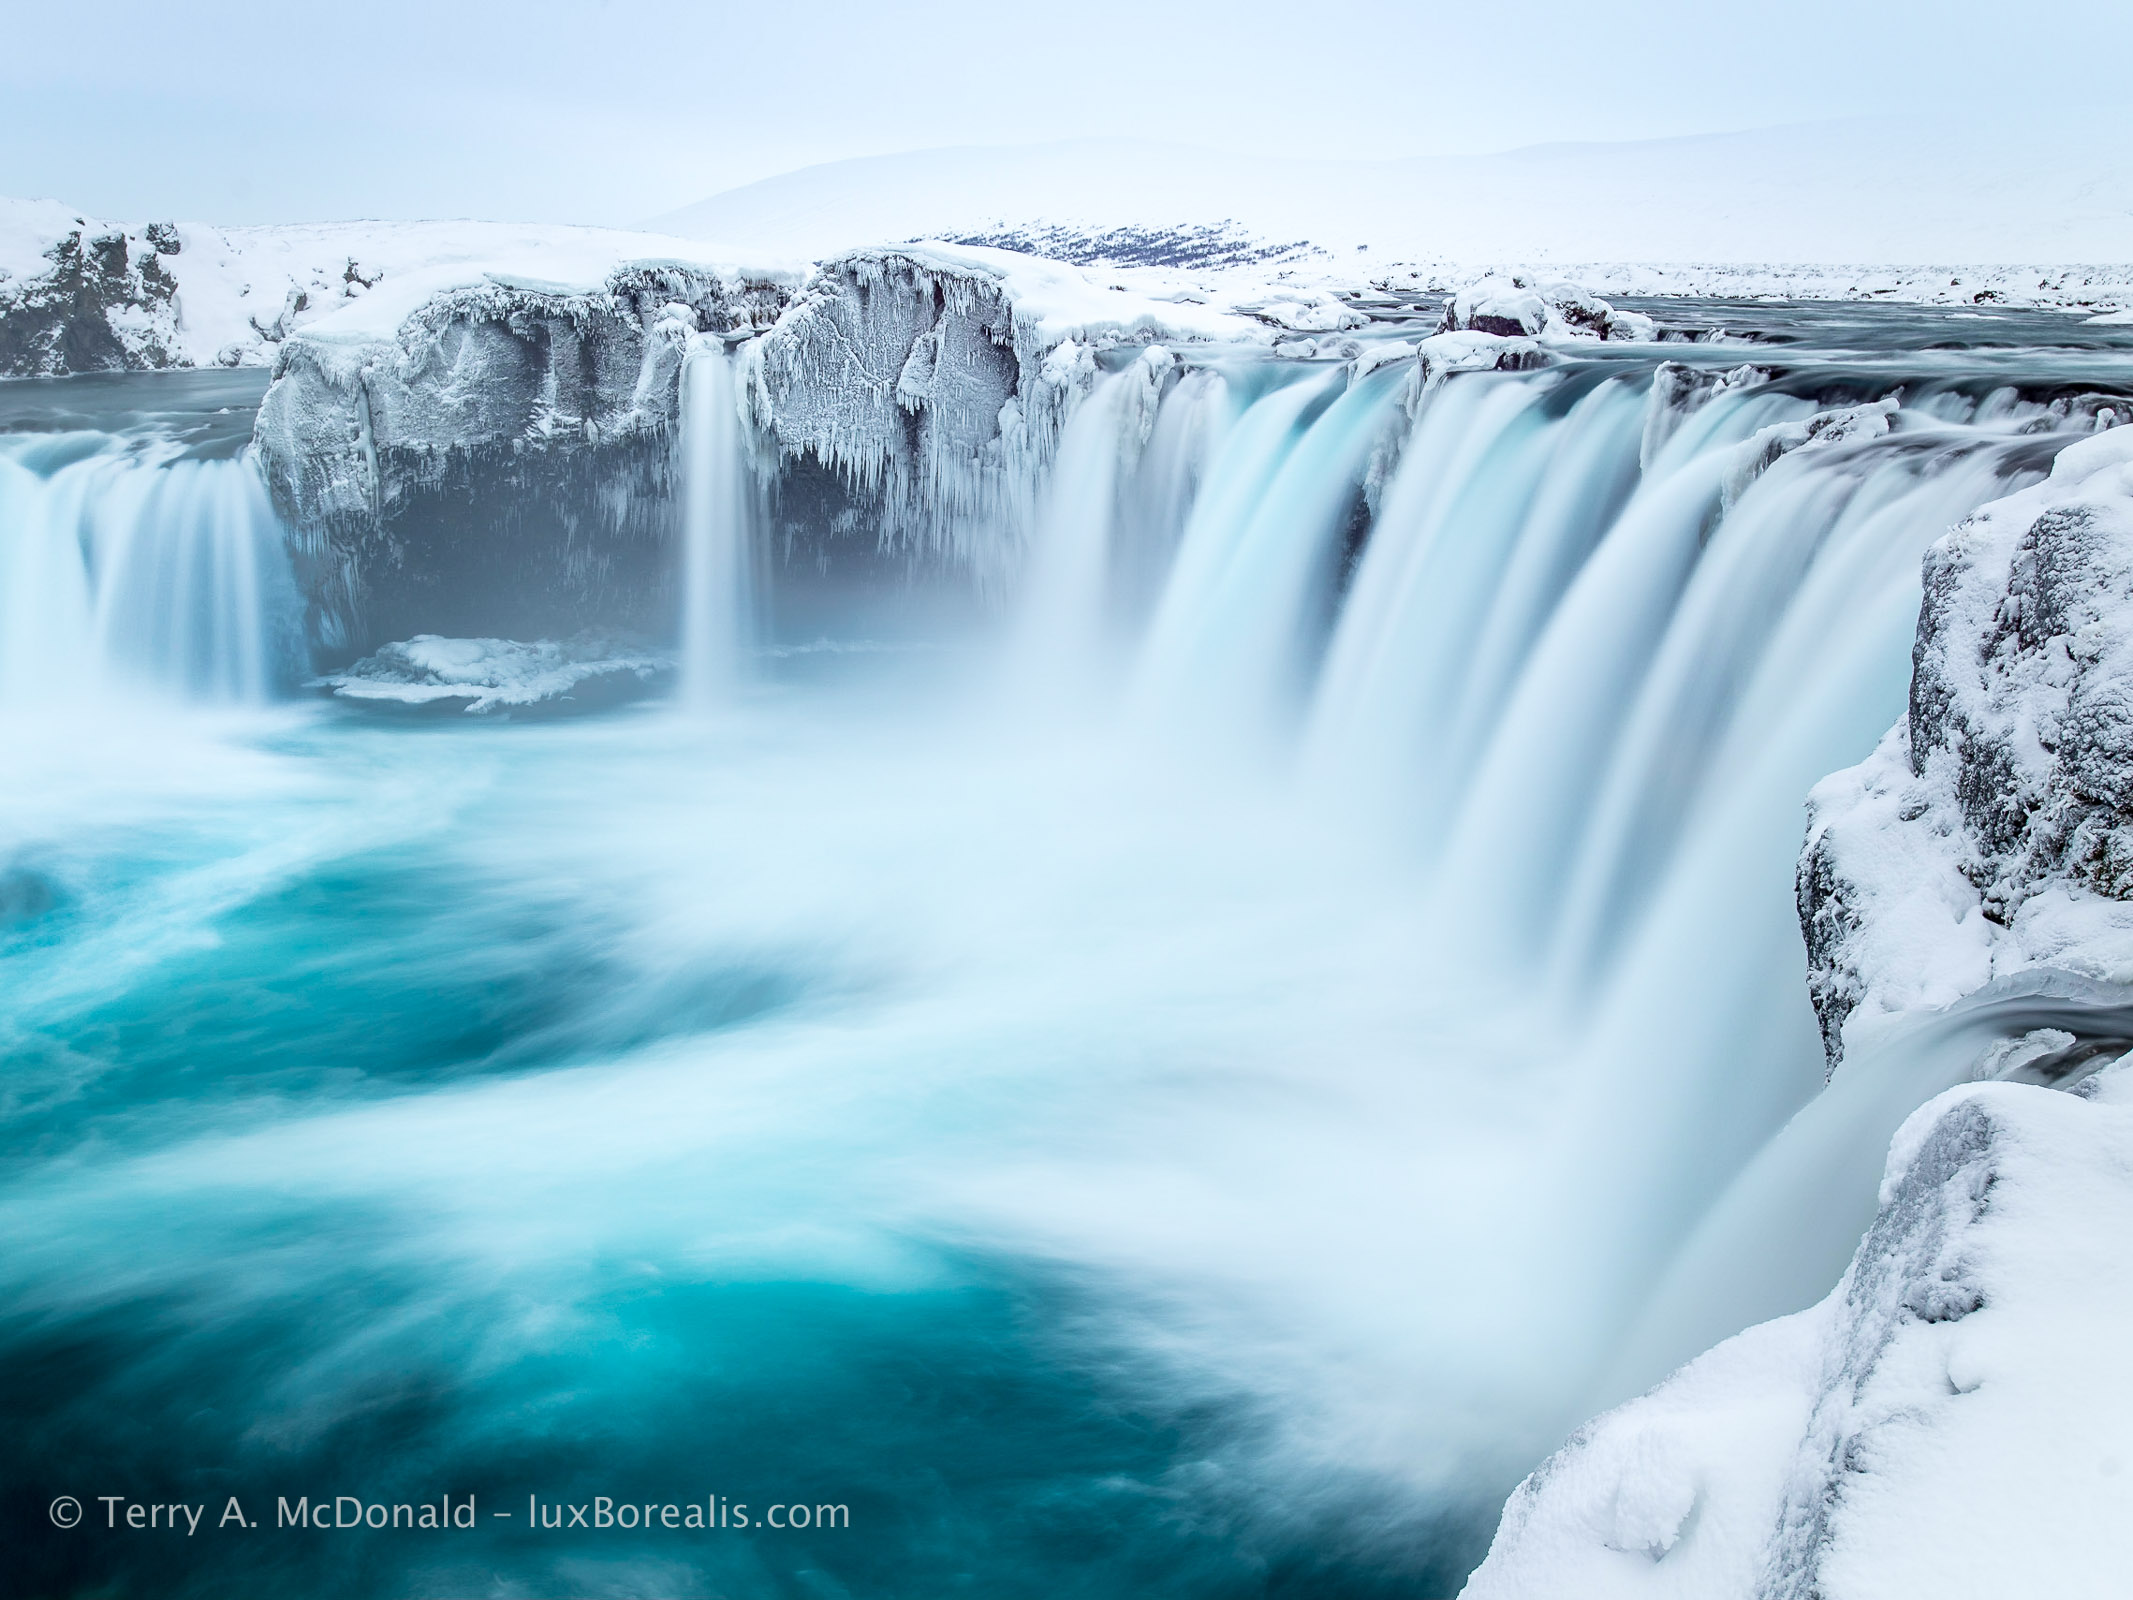
Nikon D800E • AF-Nikkor 18-35mm at 32mm • ƒ8 @ 4sec. • IOS 100 • Tripod • Lightroom
I’m the odd one out in that I prefer anorak-style, over-the-head outer wear. Coats like these are becoming more and more difficult to find, but to me, they provide better windproofing than a zip-up coat. For photography, I also find the large front ‘kangaroo’ pocket especially helpful for holding stuff, along with the tube-like hand pocket below. With the hood pulled up and all the pulls and cuffs cinched down, I’ve weathered –32°C plus wind, quite well for a morning.
A couple of things to be aware of with the outer layer. Make sure it
- is well and truly wind-proof;
- can be cinched down with Velcro at the cuffs;
- has elastic pulls and toggles around the hood, at the waist, and at the bottom of the coat;
- has a hood adjustment toggle to allow the hood to be pulled forward in a storm or held back off glasses or for when working at the camera
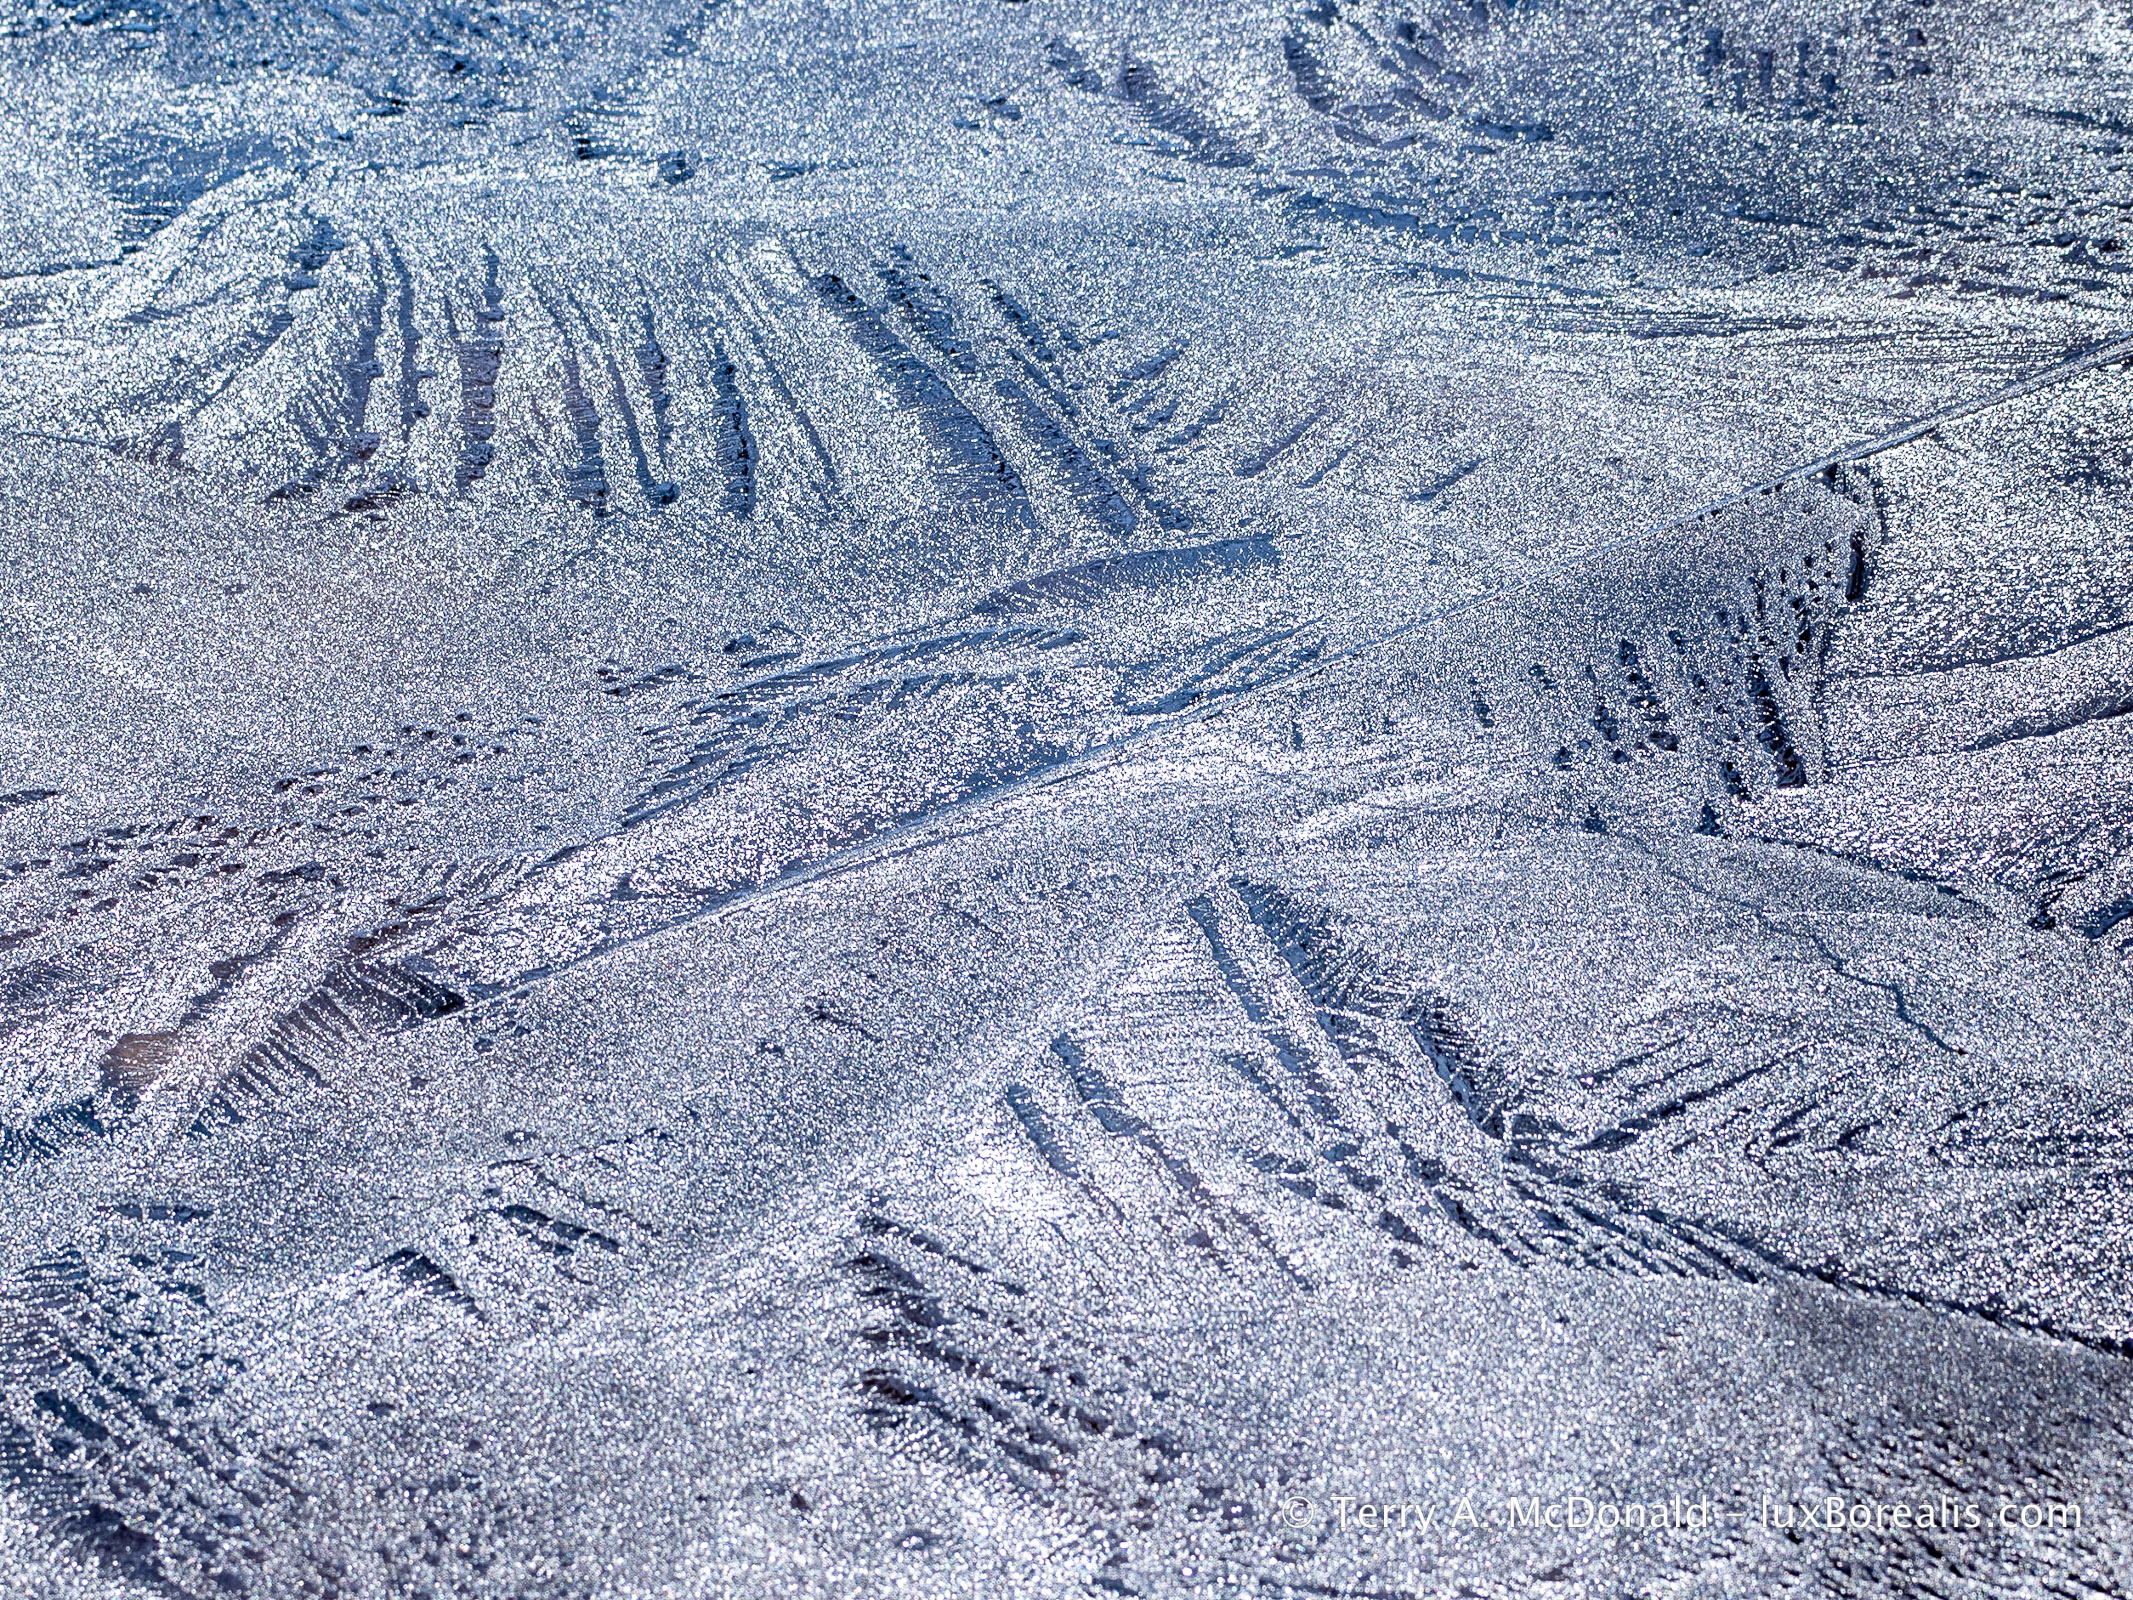
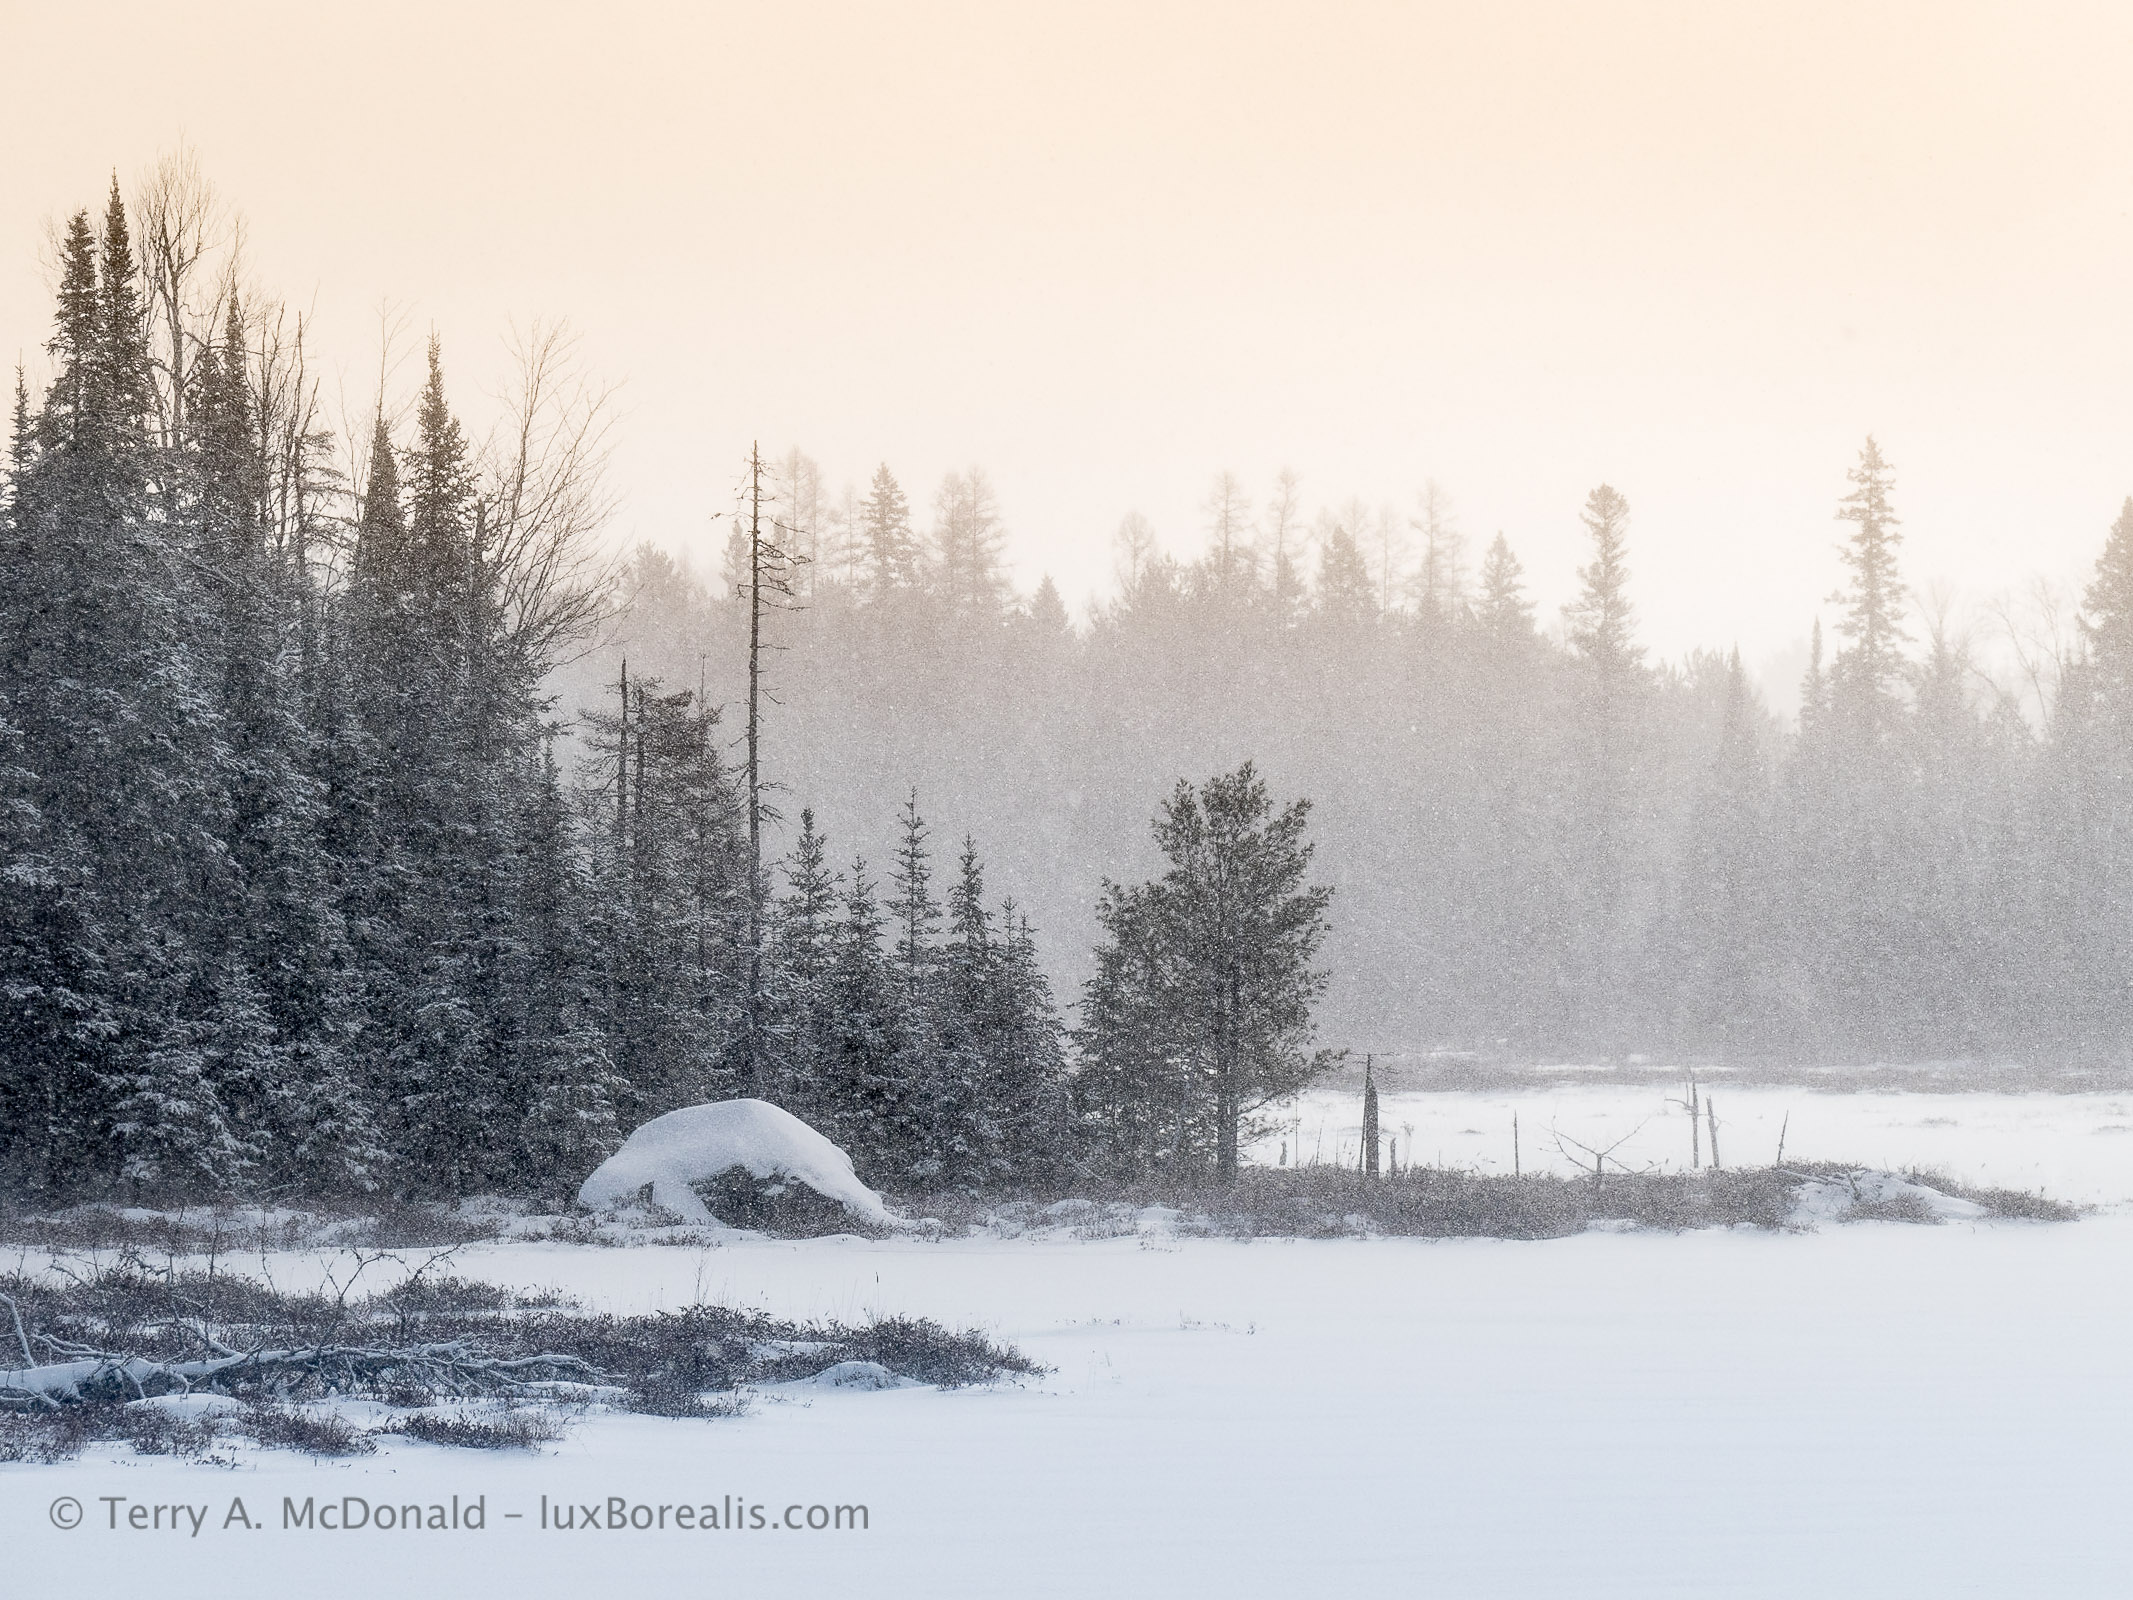
OM-1 • M.Zuiko 100-400mm @ 123mm (246mm efov) • ƒ8 @ 1/250 ISO 200 • Lightroom
Keep an eye out for snow and ice patterns, especially when new ice is forming.
Head
Most of the time, I wear one of those winter headbands that cover the forehead and ears. When the wind blows, I pull up the hood of the outer coat, which keeps me toasty for hours. However, during the really cold days, I wear a wool hat that covers both my head and ears. A beanie may be fashionable, but I’d rather be warm and the bare skin of my ears and forehead is where the cold is felt most acutely.

D800E • 24-85mm at 85mm • ƒ4.5 @ 1/250 • ISO 200 • Lightroom
Hands and Feet
On a cold day, hands and feet are often the weak point in staying warm. For hands, I like a three-layer system of glove liner, glove and GoreTex (or similar) over-mitt. After tromping/snowshoeing/skiing, I remove the over-mitt and work in gloves to set up the tripod if I’m using one and to do general set up.
I keep the gloves on as much as possible, only removing the outer glove when needed. Glove liners stay on for fine-tuning camera settings, but most controls are accessible through the outer glove. If my hands get cold while waiting, I’ll slip on the over-mitts until the action starts again.
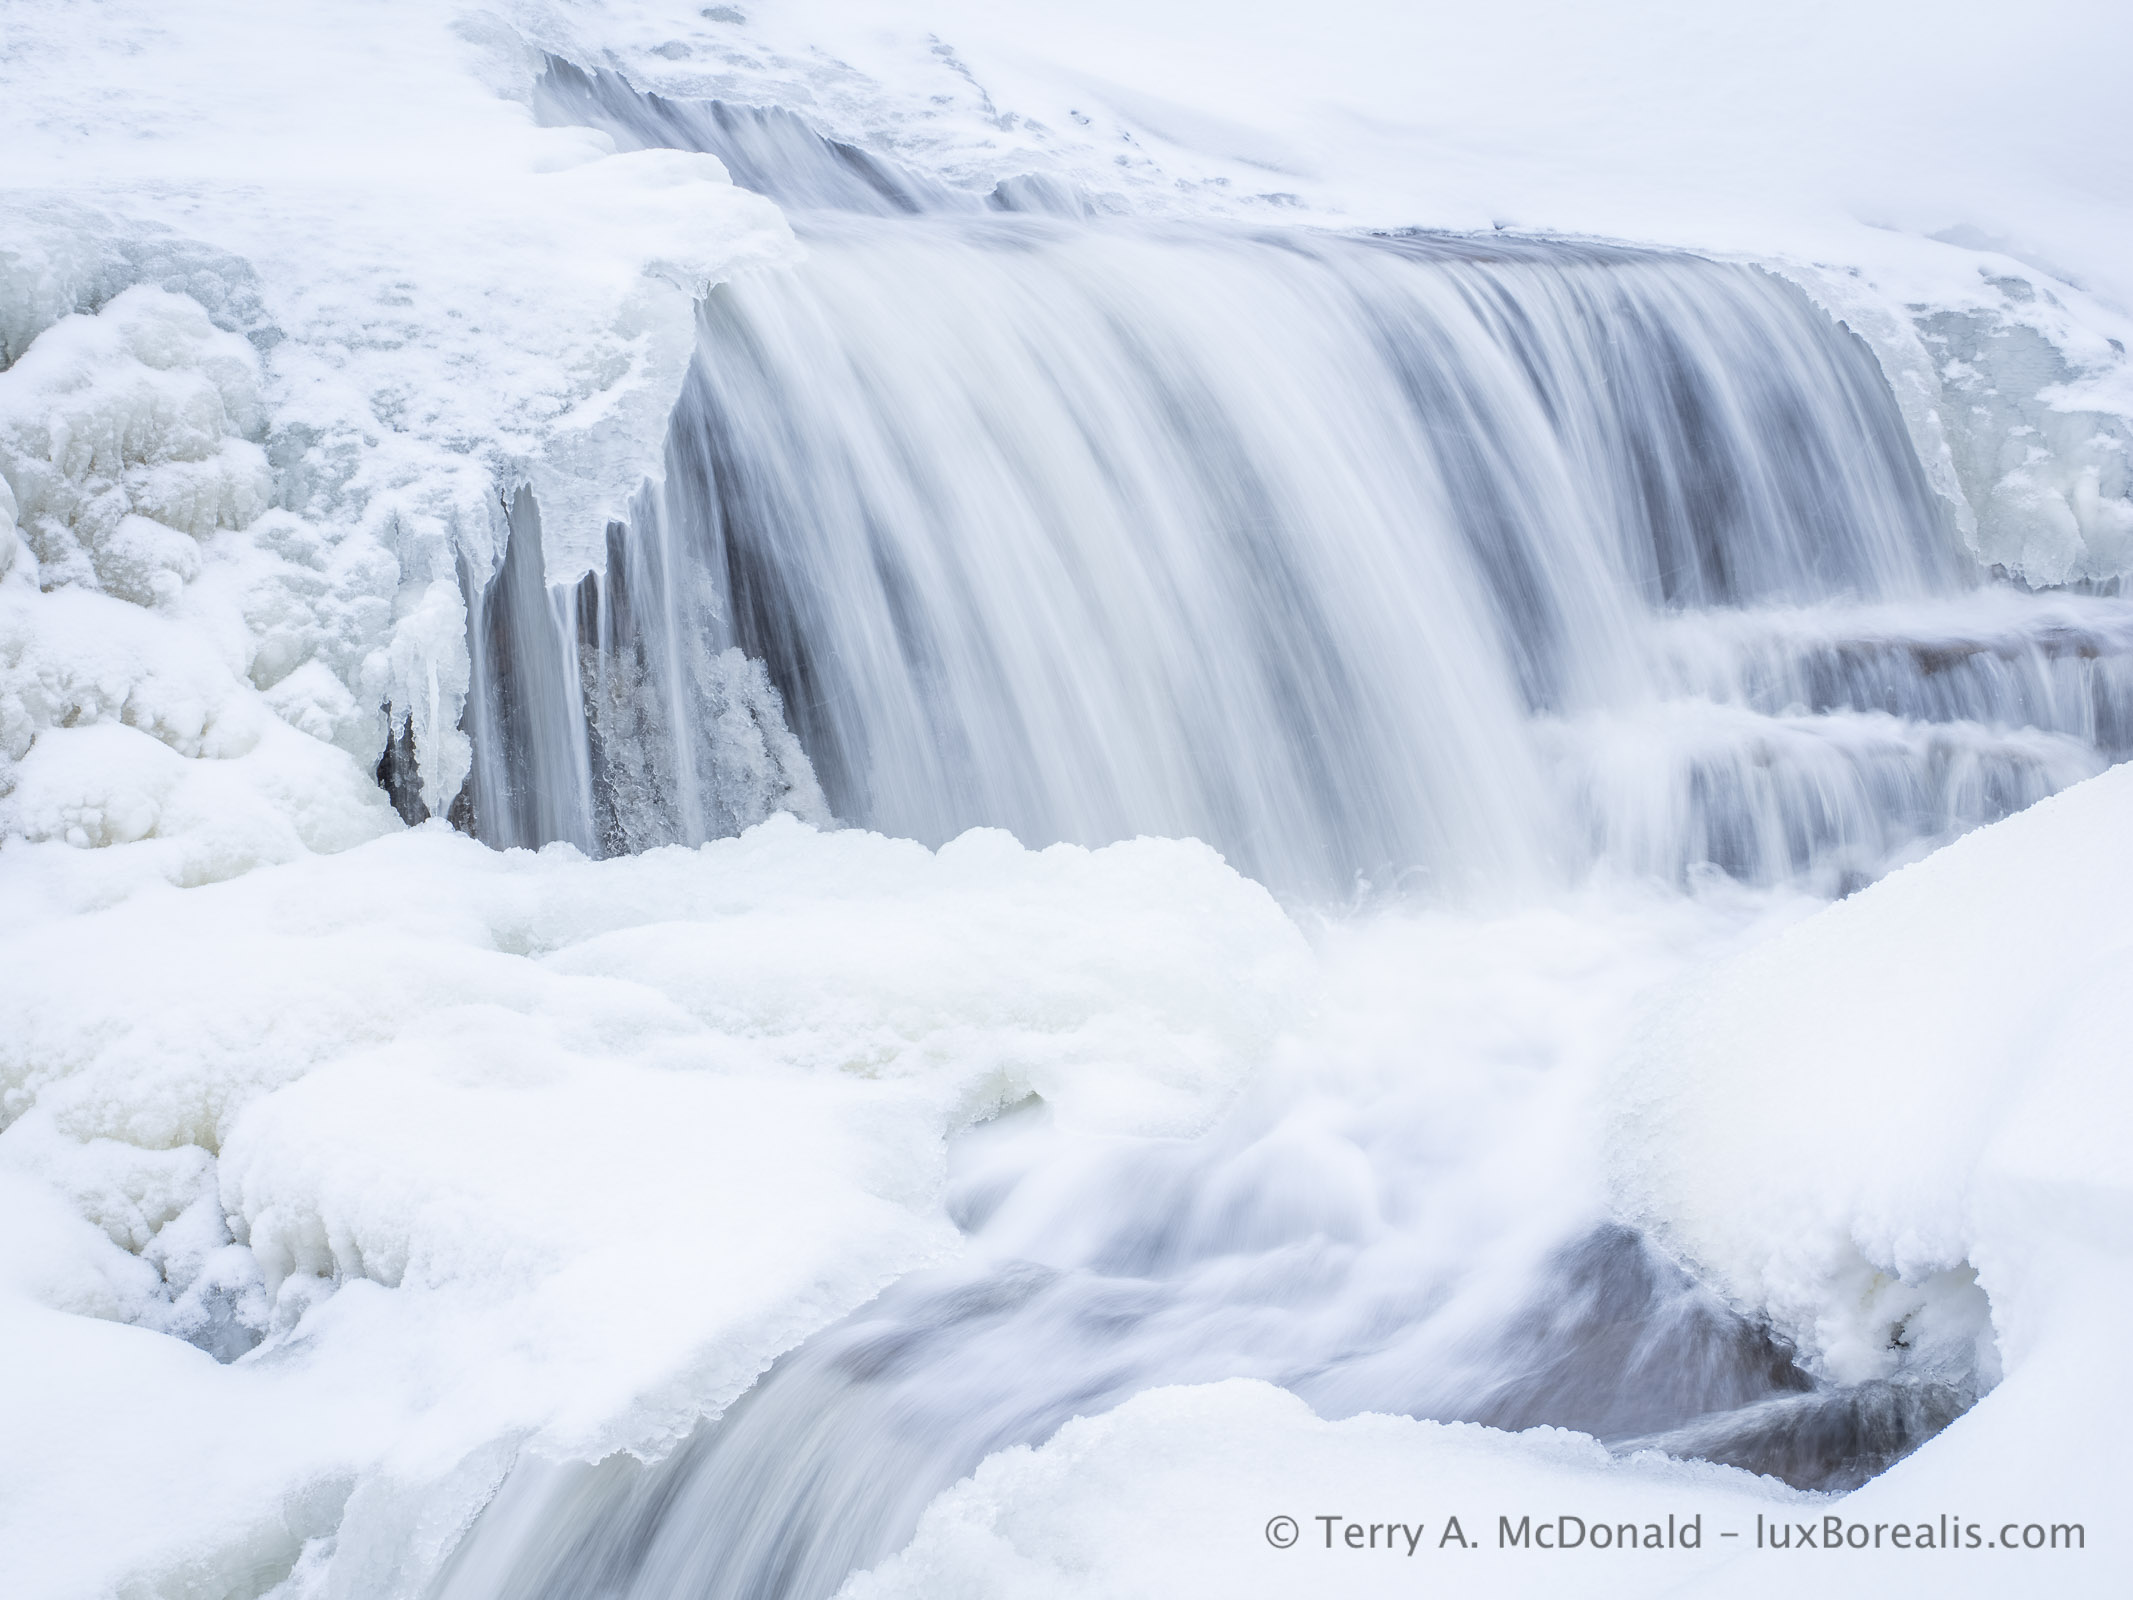
OM-1 • M.Zuiko 12-100mm @ 31mm • ƒ10 @ ⅛ • ISO 200 • LiveND • Lightroom
Feet follow the same pattern: sock liner, wool socks then a good set of lightweight but insulated winter boots or Nordic ski boots. Sock liners wick moisture just like the base layer. The sock itself is all-important. I’ve found Icelandic wool socks or Alpaca socks to be the best. While they are more expensive, they are natural fibres and will last a lifetime.
The only additional I make to this is an Alpaca wool boot liner. Any boot liner is better than nothing, but Alpaca hair has extra insulation. The liner sits in the bottom of the boot and provides that extra layer of warmth for when I’m standing around composing or waiting.
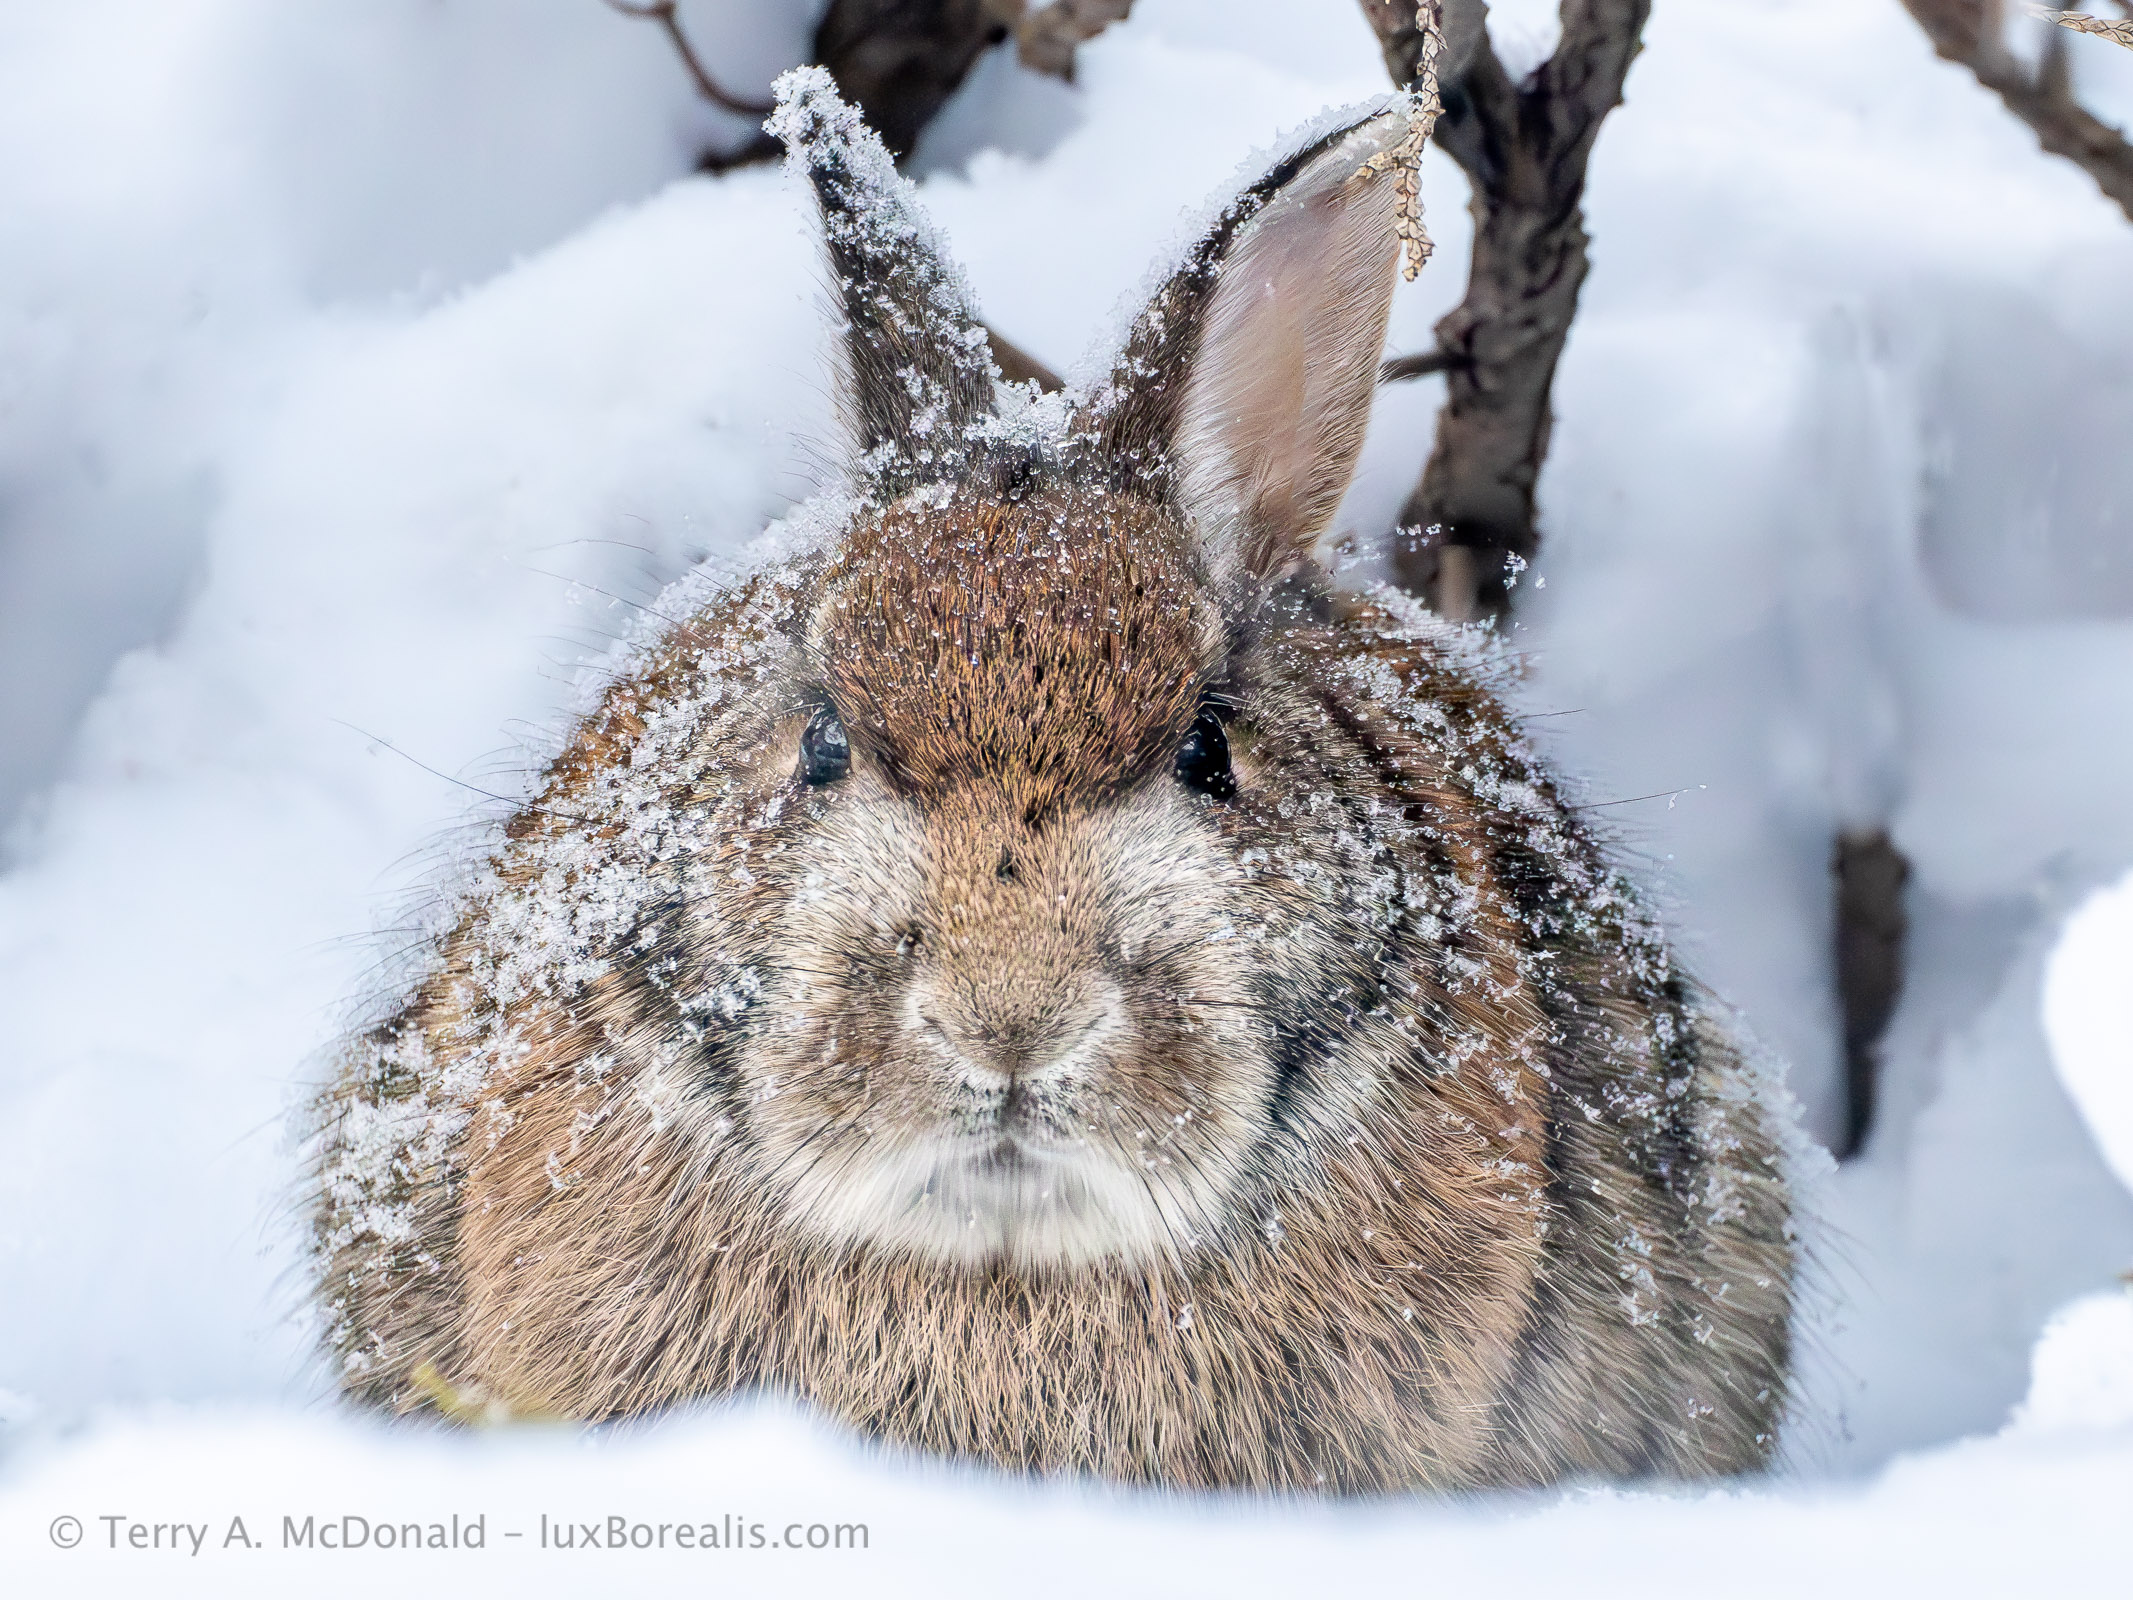
OM-1 • 100-400mm at 300mm (600mm efov) • ƒ8 @ 1/125 • ISO 6400 • Lightroom
Brands
I’ll not go into naming any brands because everyone has their preferences. If anything, I’m anti-brand, especially because some of the top brands like North Face, Helly Hanson and Patagonia, while good, are priced high due to the name. I’ve found that the off-brand gear I’ve purchased at Mountain Wearhouse and Marks has worked perfectly well.
I’m often asked if I use chemical hand warmers or battery-warmed gloves or socks. The simple answer is no. I’ve been out in –32°C but limited my time to only a couple of hours. It is just too difficult to work in those conditions with the back of camera icing up with every breath.
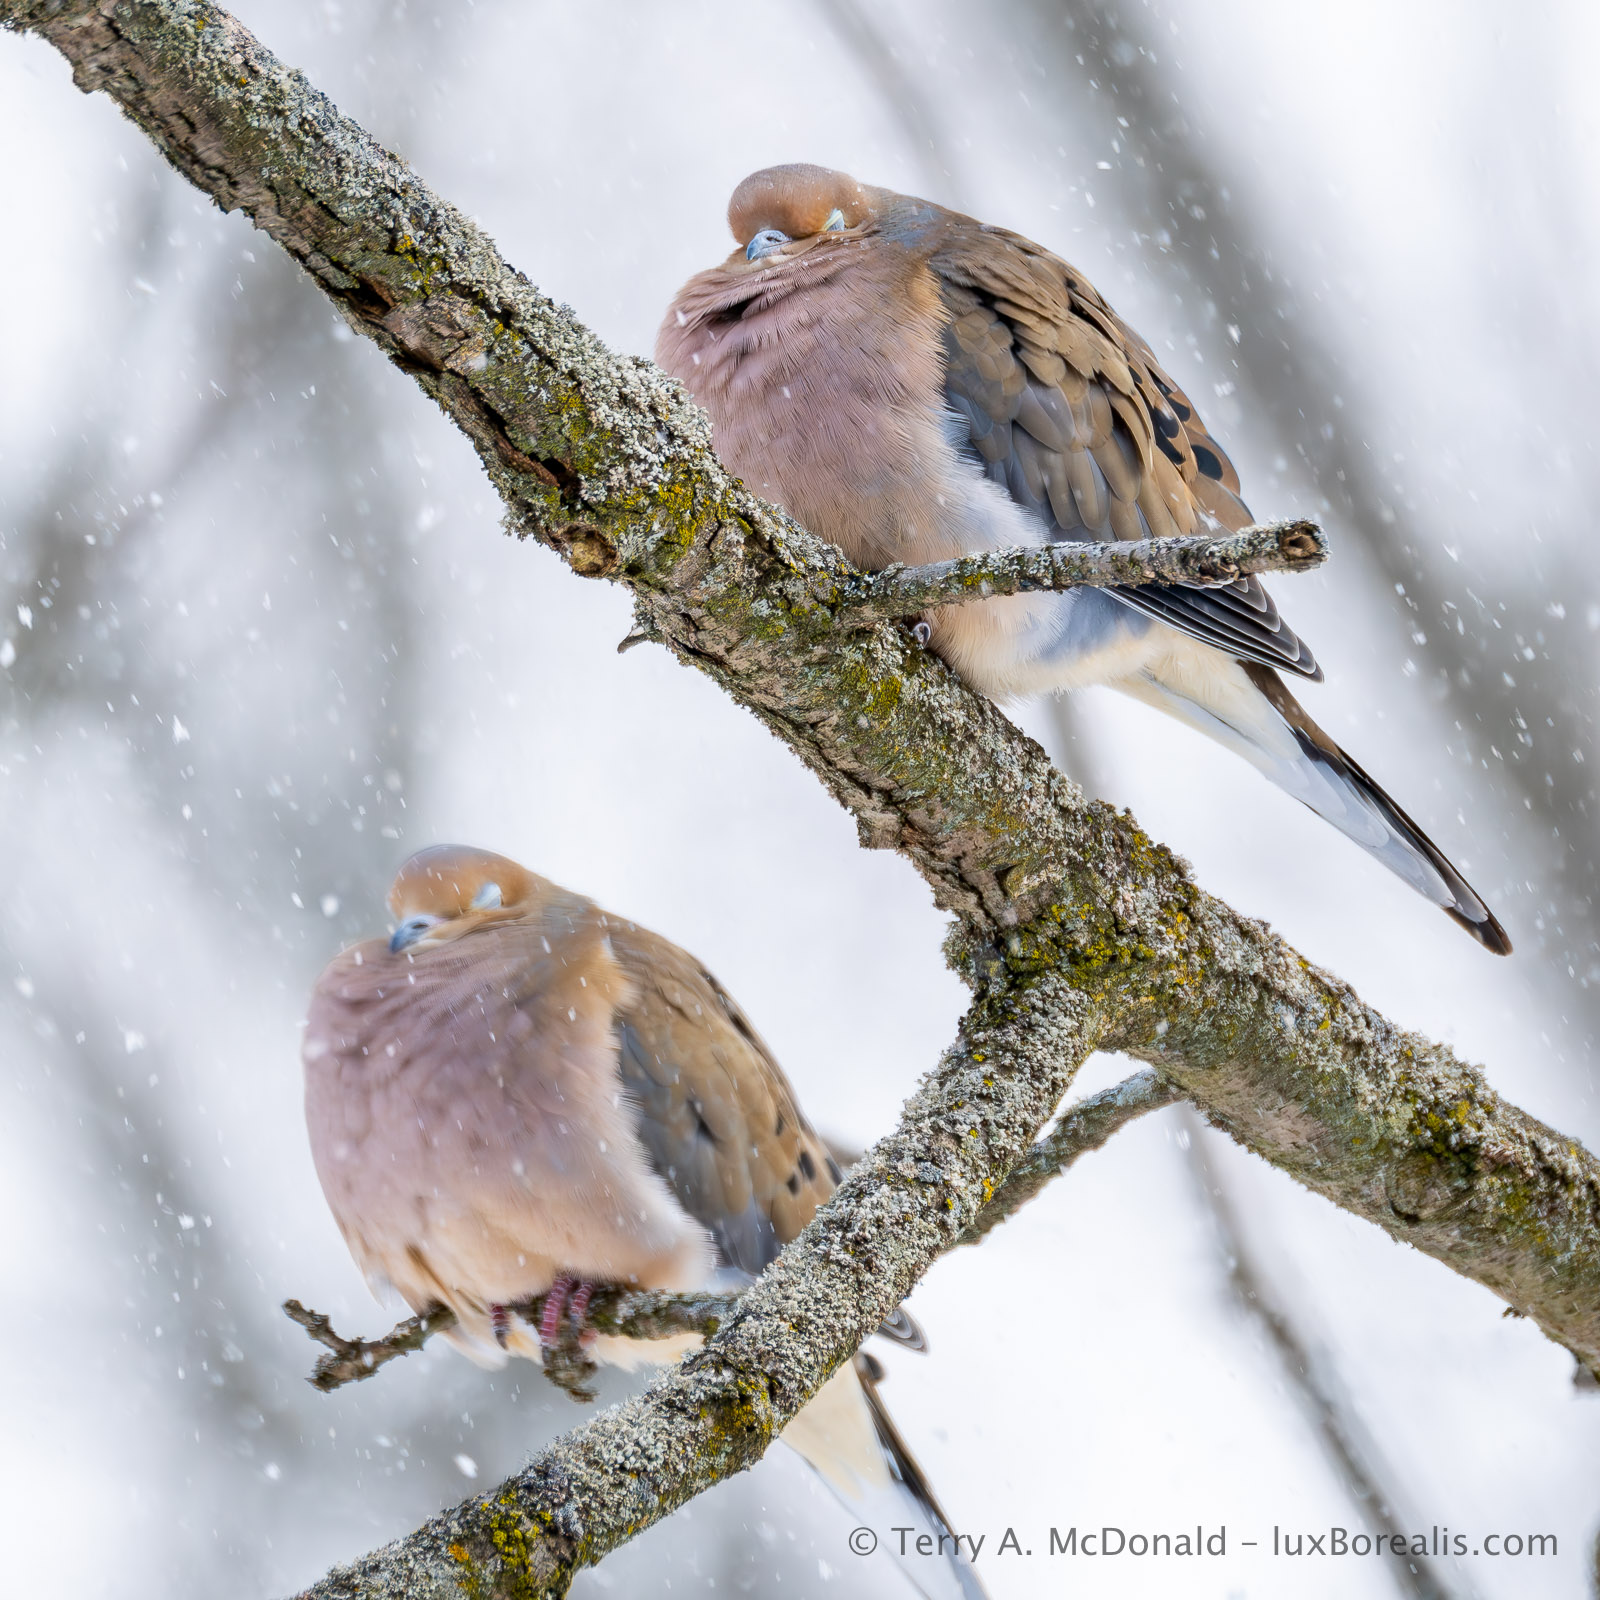
OM-1 • 100-400mm at 400mm (800mm efov) • ƒ6.3 @ 1/1250 • ISO 800 • Lightroom
De-Icing
Which brings me to another question I’m often asked: how do I deal with fogging and frost or ice build-up. I wear glasses and have a moustache, so, yes, it’s a pain. Keeping glasses slightly away from your face helps reduce fogging and the moustache, well, there’s not much that can be done when it is really cold, except chip the icicles off! Two other points to make are:
(1) Keep your camera cold. I keep mine in the trunk on cold days, not in the car itself. That way, I can stay warm without my camera getting warm, then fogging or icing when it hits the cold air. Batteries suffer in the cold, so keep your spare in packet where it can stay warm.
(2) Don’t breathe on your camera. As much a possible, breathe through your nose as it directs the moist air downwards, I’ll sometimes wear a scarf around my mouth and nose so that it catches most of the moisture I exhale. Alternatively, I literally hold my breath when the camera is up to my face.

iPhone 11 Pro • 7mm (50mm efov) • ƒ2 @ 1/700 • ISO 20 • Lightroom
Final Thoughts
The idea of dressing in layers means you can remove layers as you get warm, for example when snowshoeing or Nordic skiing though, even tromping through snow will get your heart rate up. The key thing is to avoid sweating as moisture can cool you down.
Instead of removing layers, my first line of defence against excess moisture is to vent. The anorak I wear has a back vent and underarm vents that I open as I heat up. If you pause for a while to compose photos, keep the vents open, at first, to expel excess moisture. You don’t want that moisture to cool you down. However, once your body temperature has stabilized after activity, zip the vents closed to seal in the warmth.
Something to remember: Cold kills! Continually monitor your fingers, toes and core temperature. If you are out alone, then don’t stray far from where ever you started from—your car, home, cottage or base camp. Best practice would be to go out in the cold with someone else or in a group. At the first sign feeling chilled, let the person or people with you know and begin heading back. The worst possible scenario is getting caught out with your core temperature dropping, especially if it’s the afternoon and the sun is setting. If that happens, get out of the wind as much as possible and stay active. Work with the person or people with you and head for home.
Olympus E-1 • Zuiko 14-54mm @ 54mm (108mm efov) • ƒ16 @ 1/50 • ISO 100 • Lightroom
Thanks for reading! Be sure to SHARE this post with other photographers. Continue the discussion! Questions, comments, and suggestions can be added under COMMENTS.

This blog is completely free and I do not include commercial affiliate links. To help keep it free, consider buying me a coffee.
Discover more from luxBorealis Blog
Subscribe to get the latest posts sent to your email.
